How to Create a Lead Conversion Video
Simple videos can be a lead generation magnet. They are “doable” for nearly all businesses but you need to have a plan!
Before you do anything, map the project by clearly defining your goals, target audience, creation timeline, budget, creative requirements, and what would make your video successful. These should be discussed with stakeholders and an agreement reached before the actual shooting starts. Once that’s done …
Step #1: Script the Video
Some videos can be done without a script. However, most business videos need a script. Why?
Scripting reduces editing
A scripted video typically requires less editing.
Scripting helps you stay on time
Without scripting, you’re likely to end up with a video that’s longer than necessary.
Scripting helps you remain on track
In the absence of a script, you’ll lose the plot and lose your viewers along the way.
Keep the script short. A two-minute video takes a 350-word script. When you’re done, organize a script read where your writers and talent read through the script and edit it.
Step #2: Understand Your Camera
The Digital Photography School has created a comprehensive blog post that explains, in detail, the different parts of a camera and how to correctly operate it. Unless you record the video with your phone, there are two broad categories of cameras to pick from; prosumer and professional. Professional cameras such as DSLRs are the better choice. A few points to observe when using the camera include:
- Frame rate
- Shutter speed
- ISO (the camera’s sensitivity to light)
- Aperture
- Color balance
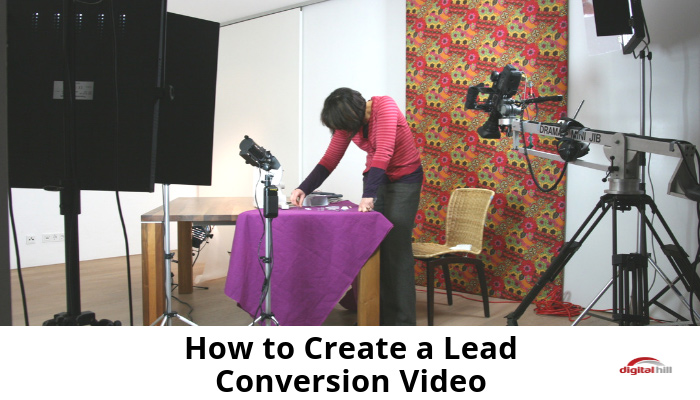
Step #3: Set up the Studio
The first step is to obtain the necessary equipment. There are three categories of equipment needed; basic equipment (camera, tripod, camera batteries, SD card), audio equipment which is essentially microphones (lavaliers or shotgun mics), and lighting equipment (3 light stands, extension cards, and camp lights). Next, set up the studio. Choose a backdrop, bring in a couch and chairs, clear out unnecessary people from the room, turn off overhead lights, and minimize noise by turning down the fan and paying attention to the AC.
Step #4: Prep Your Talent, Then Record
Pay special attention to the beginning of the recording as beginnings can be rough. You may want to record that section again when the talent feels more confident and comfortable. Also, remember to shoot for edit. By keeping in mind that the footage you record will be edited later, you can make smarter decisions. Video recordings are best stored in an organized manner on an external hard drive.
Step #5: Editing, Music, and Voice-Over
Editing should be fairly easy with tools like the Apple iMovie and Adobe Premiere Pro. The Adobe Premiere Pro is particularly good as it allows editor collaboration, material organization, and syncs with other programs such as Photoshop and After Effects. Also, it makes exporting your videos to the web easy.
When choosing music, consider the purpose (is it for the background or something with real impact) and your audience. Get licensing for the music you use. Voice-overs are separate video narrations spoken by a speaker on-camera. They make your videos more fluid, relatable, and emotional.
Step #6: Publishing
Congrats! You’ve finished creating your video. Now, it’s time to publish. There are several platforms to pick from including YouTube, Vimeo, and VidYard. Also, you can publish the video on social networks like Facebook and Instagram.
When you need tools to help you edit and customize videos to get the right effect, consider tools like Wave.video which make it easy to edit videos and create specific format and sizes for different social media platforms.
